Zapier Integration

INTERNAL TRIGGER

Use the results from your Promptmate.io-App in an external application each time the App is run.

EXTERNAL TRIGGER

An external trigger automatically requests a Promptmate.io-App to run.

INTERNAL TRIGGER

Zap your promptmate results to another Application

In this example we will create a WordPress Post Draft based on the results from the Promptmate.io template <Seo-Friendly Blog Article Writer>

1.

Choose the Promptmate.io Template you want to zap

Run the App at least once before creating the Zapier Automation
You will need the result data to set up your Automation in Zapier!

2.

Log into your Zapier Account

Log in or Sign Up to Zapier

3.

Create Zap

Click > Create then click > Zap

4.

Choose Trigger

Click on > 1. Trigger > look for promptmate.io via the search bar > select promptmate.io

5.

Connect a new Account

To connect your account you will need an API Key from promptmate.io

6.

Get your API Key from promptmate.io

Jump over to app.promptmate.io > click on the green arrow next to your profile photo on the top right and click on > API Keys > Add API Key > Name it for example Zapier > click Create > Copy the API Key

7.

Paste the API Key on Zapier.com

Back on Zapier.com, paste the API Key and click > Yes, continue to Promptmate.io

8.

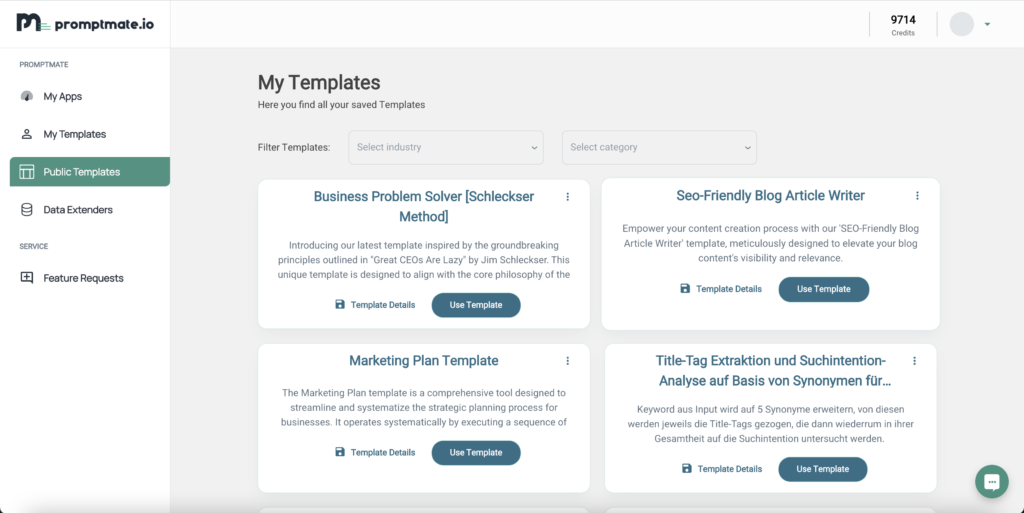
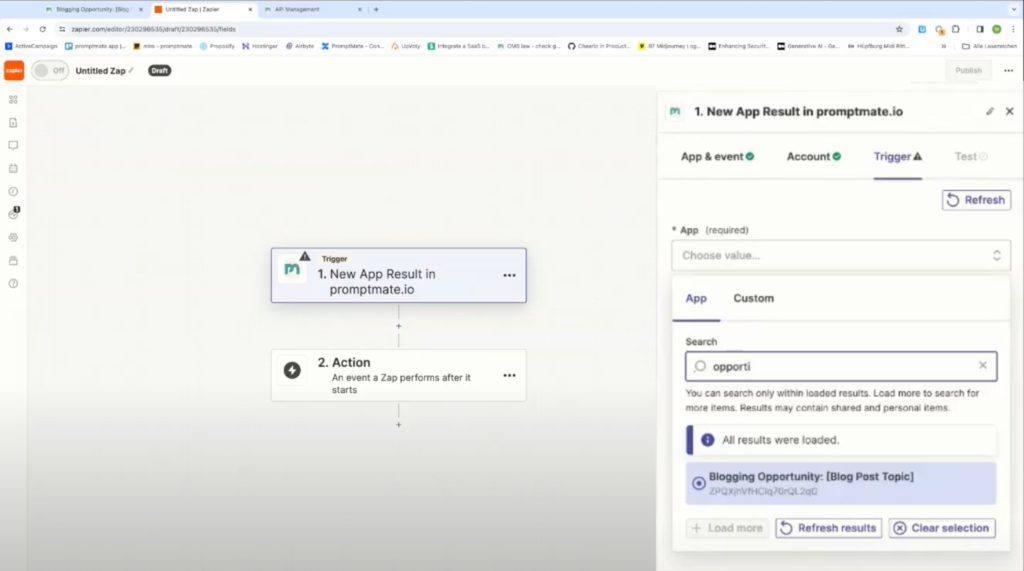
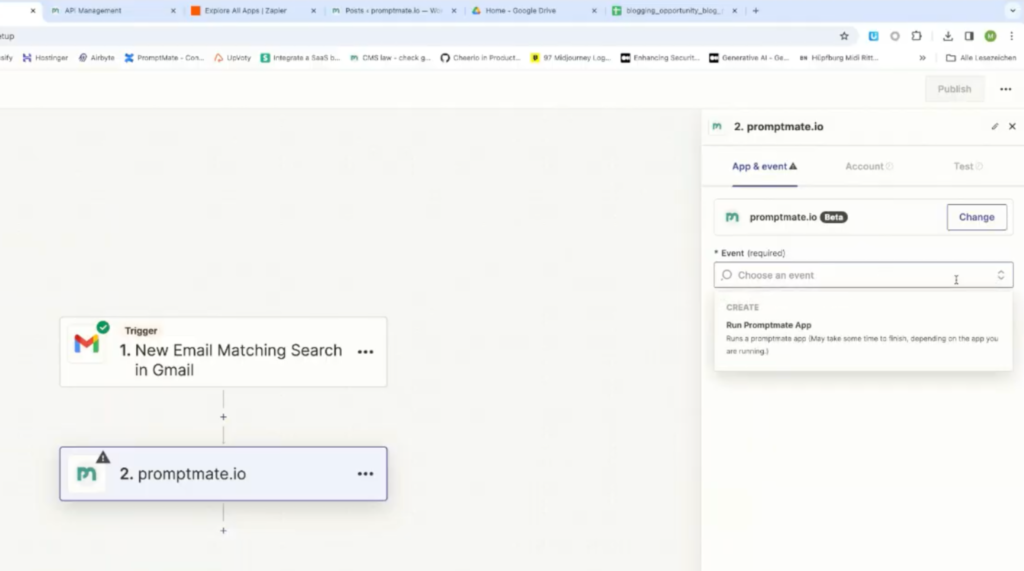
Select the promptmate.io-App you want to connect

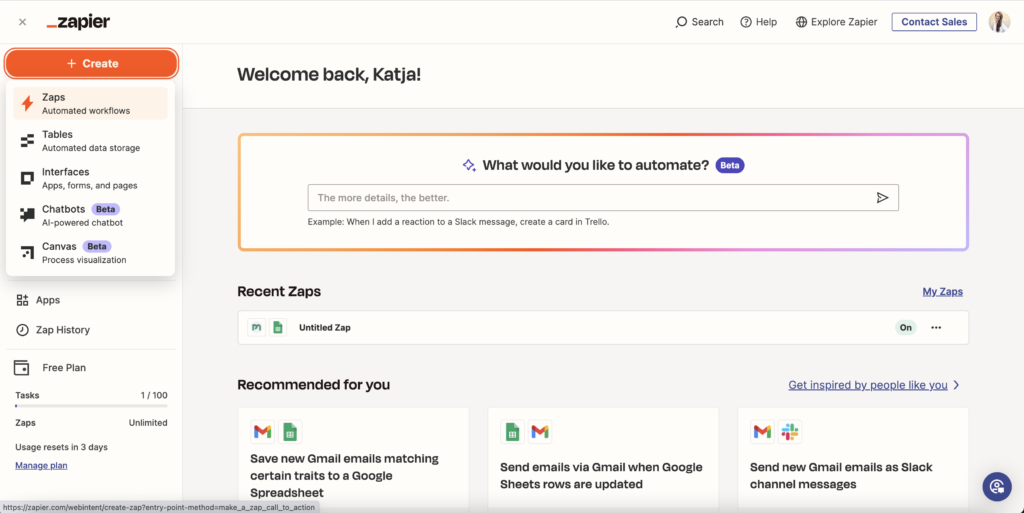
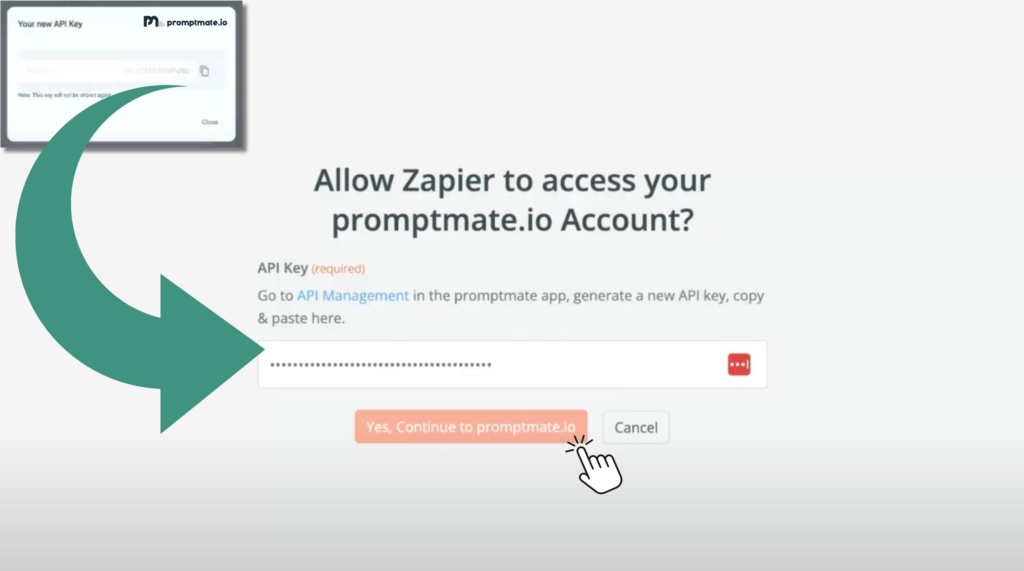
Now, your Zapier.com & promptmate.io Accounts are connected.
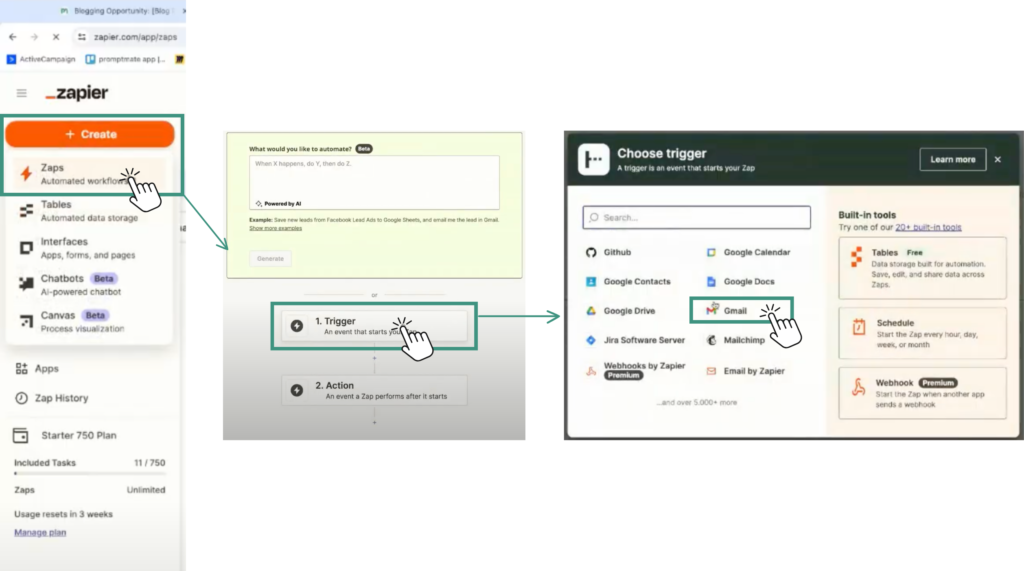
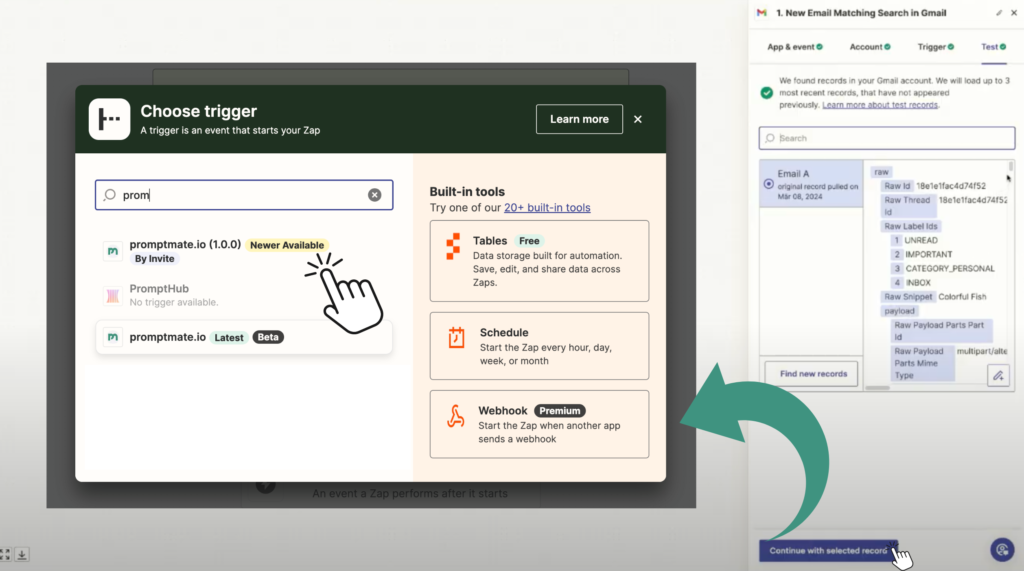
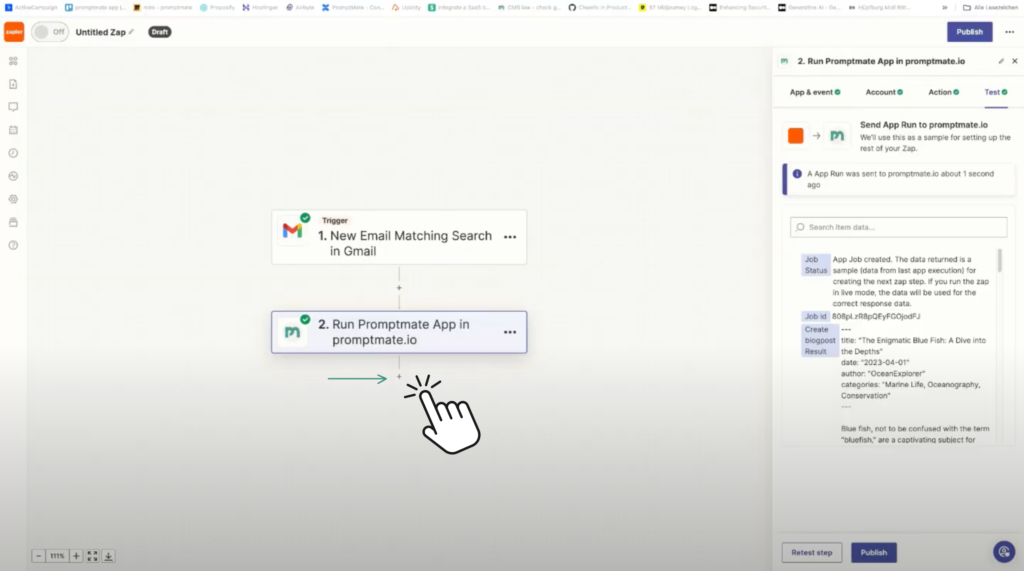
Continue by clicking > Continue, then on the bottom right > Choose Trigger 

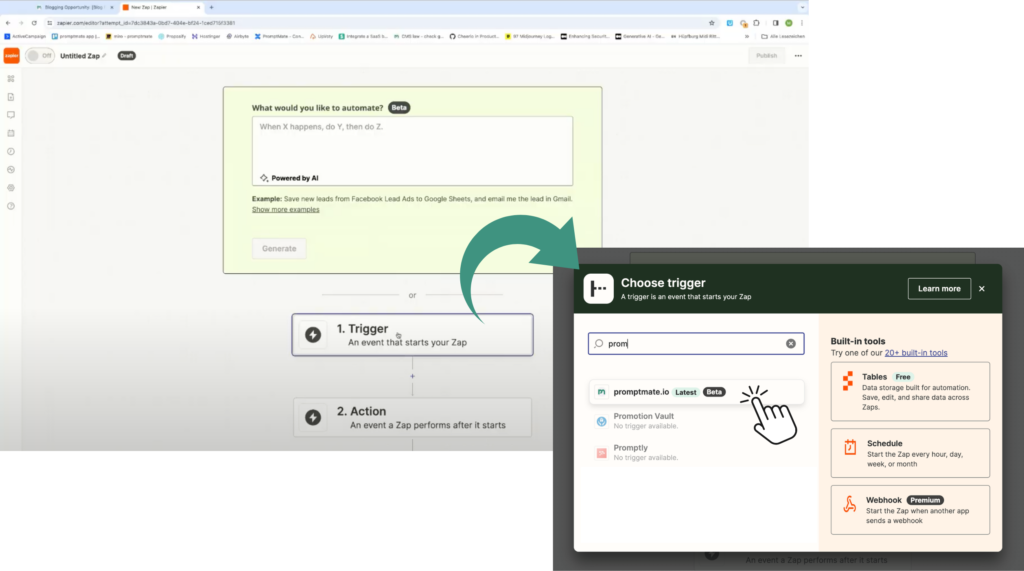
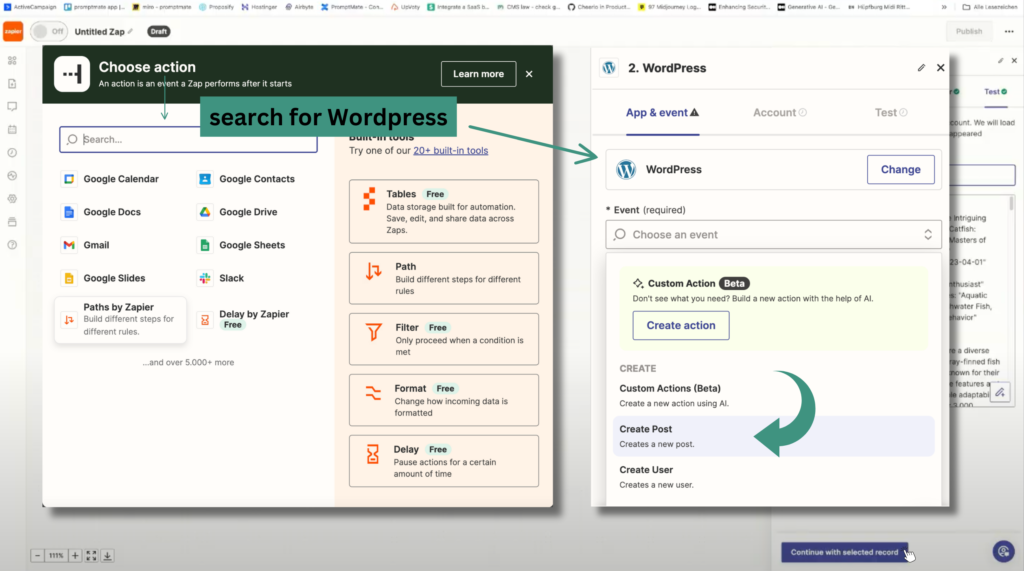
In the search bar, look for the App you want to connect, click > Continue

9.

Test your Trigger

Click on > Test your Trigger > now you should see your App results appear on the right

Note: If any results are missing in Zapier > Customize App Result Settings > on promptmate.io in the drop-down menu under „Result“ or in Edit App > App Settings > App Result Configuration

10.

Choose Action

Click > Continue with selected record > Choose Action
In our example we want to create a WordPress Blog Post from the results, so we will search for WordPress > Event: Create Post > Connect your WordPress Account > Continue > Action: Post

11.

Connect your WordPress Account

In our example, our goal is to send our results straight to WordPress.
Choose your WordPress account or connect a new account account by providing the WordPress Login details.

12.

Fill in results & send your Post to WordPress

Fill in the fields „Title“, „Content“ etc. with the results of your Promptmate.io-App
> Click Continue > Test step > Head over to WordPress and check if your Post is created as a Draft 

Tipp: Check the required fields and edit your app accordingly, for example you could also ask the Promptmate.io-App to create an image for the post etc.

13.

Publish your Zap

After you click on > Publish > each time the promptmate.io-App is run, the zap will automatically create a WordPress Post Draft from the new results!

Tipp: You can also run the App in bulk with a CSV file as input, and automatically create WordPress Blog Post Drafts in bulk.

EXTERNAL TRIGGER

Set up a trigger which automatically requests a Promptmate.io-App to run

In this example we are setting up a zap for an email you receive to automatically request a Promptmate.io-App to run.

1.

Create Zap

Click > Create > Zap
Choose your > Trigger, in this example  > Gmail

2.

Define the Trigger

We want a specific sender and subject to kick off the promptmate.io-App: Under Event > select "New Email Matching Search" > Select (or connect) your Gmail Account > Continue > Define Search String, which in our case is > from: (sender email address) "subject line"

3.

Choose Action

Click > Continue then click > Test your Trigger > Continue with selected record
In our example we want the trigger of receiving an email with the subject "Blog Post" to kick off a Promptmate.io-App, so look for promptmate.io via the search bar > select promptmate.io

4.

Define Action

Event: Run Promptmate App > Continue > Choose your Promptmate.io Account > Continue > Search and Select the Promptmate App you want to connect > Continue

5.

Define required Input

The fields you will see are the same as appear in your selected Promptmate App.
> Define at least all required fields, then click > Continue > Test Step

6.

Add next step

At this point you might want to add the next action. To do this, click on the + under your last action and follow the Internal Trigger How-To-Guide above